

Some years back, I worked as an assistant for another engineer - it was a transformative experience that helped me level up in a big way as a mix engineer. One of the biggest things my boss did differently from me was mixing “top down.” It was the opposite of everything I had been taught about mixing, and the perspective shift reshaped the way I approach a mix.
The idea behind working “top down” is pretty simple - rather than building a mix track-by-track, you start with processing on the mix bus. This can feel counterintuitive to those who (like I did) think of mix bus processing as a finishing touch. The rationale, though, is that whatever an unmixed multitrack needs - compression to glue it together, low-end oomph, midrange clarity, snappy saturation, wider stereo imaging - it’s the whole mix that needs those qualities, not the individual tracks. So why not start with some broad-strokes processing choices and address individual problems from there? If the production was done well, the mix might not even need much more.
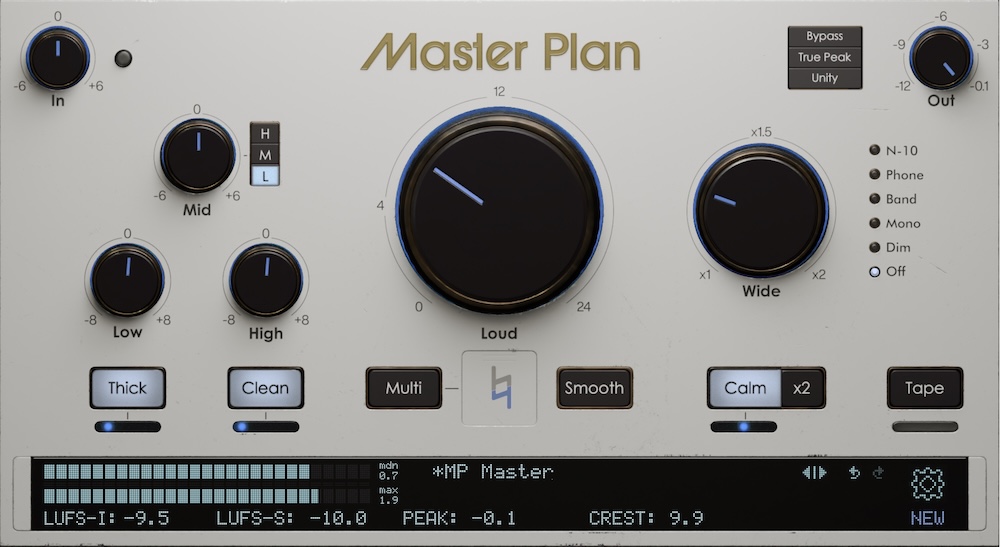
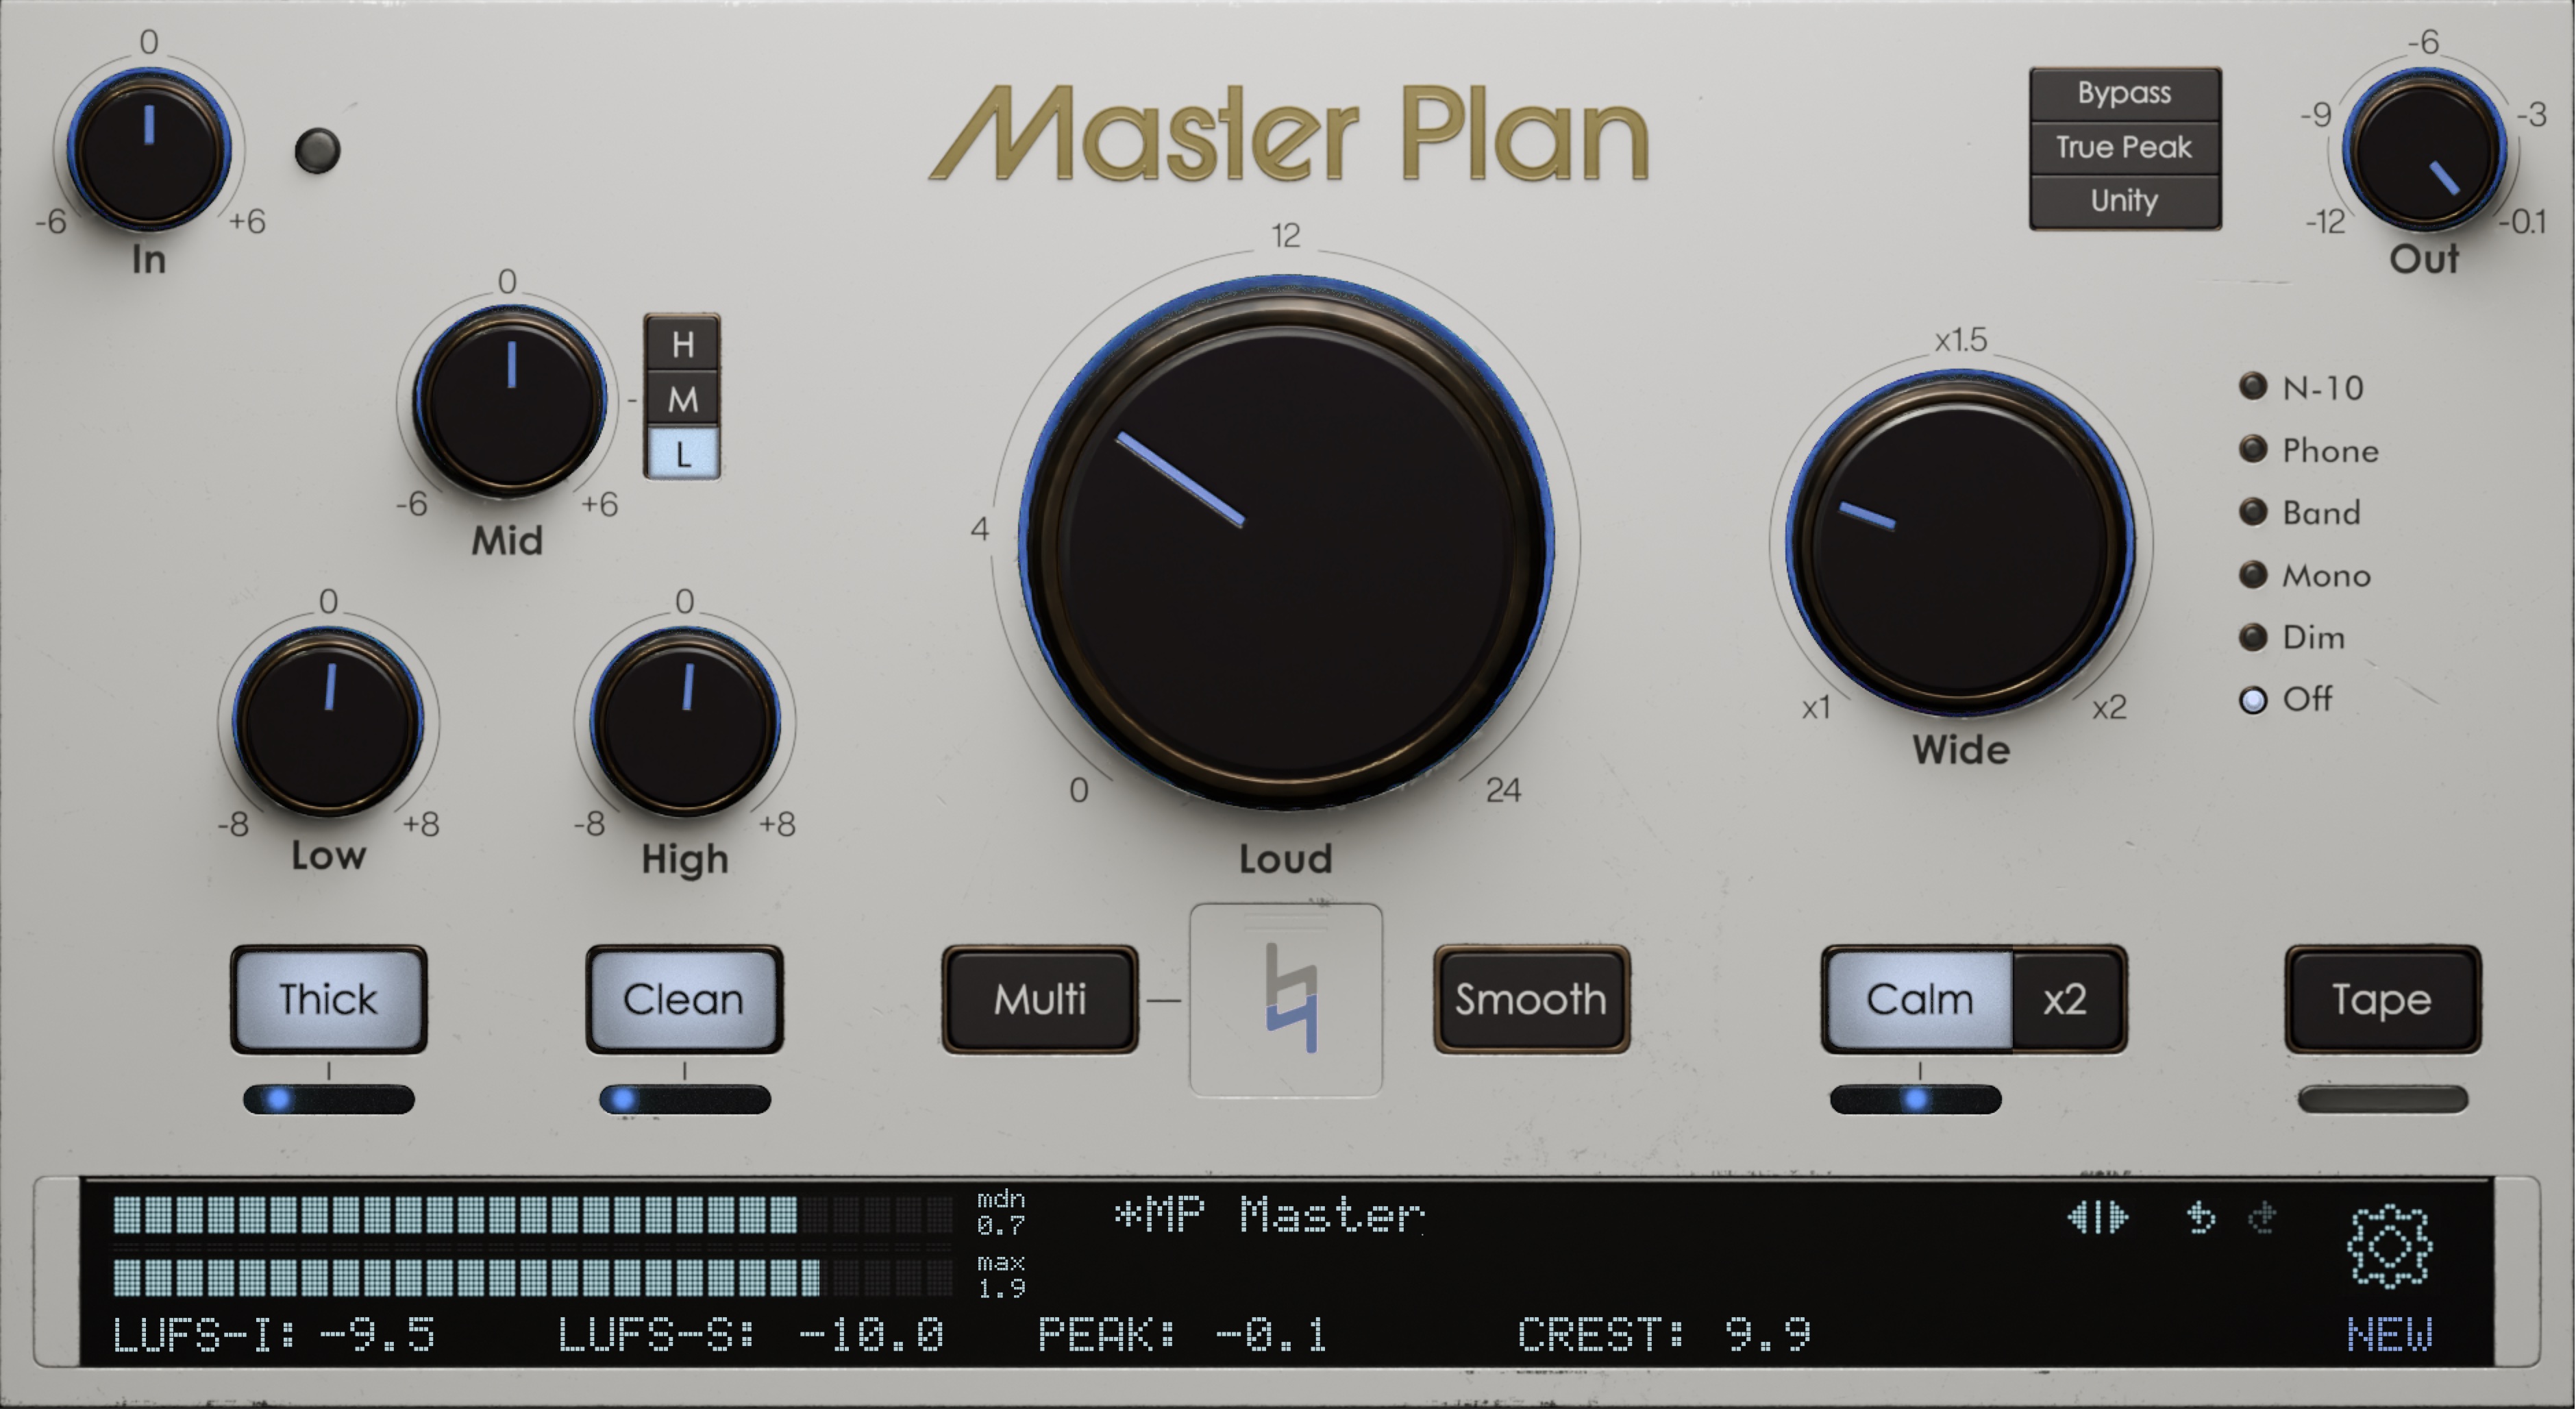
Master Plan is an excellent choice for this type of mixing, giving you pretty much everything you need for two-bus processing in one package. Before we get into settings, though, let’s get one caveat out of the way: this approach only really works if the mix has a good static balance. What I mean by that is the faders are set well, panning choices have been made, and there are no obvious problems (like drum mics out of phase… or the lead vocal not being recorded yet). Your mix bus meter should also be showing healthy headroom - I like peaks around -9 dBFS - so you don’t unintentionally trip Master Plan’s limiter or add saturation before touching the Thick control.
Once those fundamentals are set, drop Master Plan on your mix bus and get rolling. Start with the Loud knob - play back your track and slowly bring it up. The loudness of the mix is going to rise as you work, so no need to push too hard at this stage.
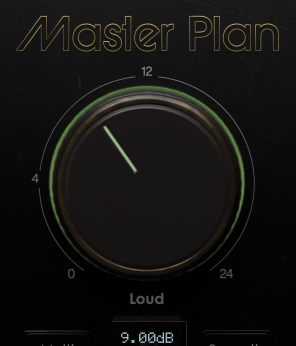
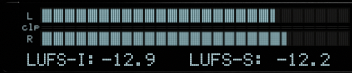
Increase Loud until the LUFS meters in the bottom left start turning green, then back off a touch.
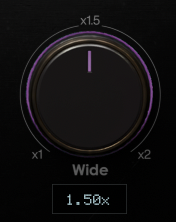
From there, dial in a bit of Wide - go to where you notice the track spreading out, then pull it back slightly.
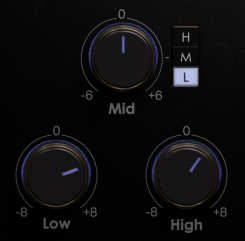
Now listen to your mix. What does it need? Chances are, some adjustments to the Low and High EQ controls are a good move. Often, boosting a couple dB on both will add some weight and sparkle, but use your ears and dial accordingly.
Next, you might switch on Smooth to give the mix a bit of glue. I’d personally stay away from Multi this early in the game - save it for after the mix is done, if you end up needing it.

At this point, you might have things in a good place to start mixing. Or maybe you want to clear up some midrange mud with Clean or add some saturation with Thick. Switch those on and dial the sliders to give the mix more density and focus.

You might also want to switch on Tape and move the slider to the left to tighten up the low end.

Calm is great for taming harshness that might build up during mixing, but at this stage you probably won’t need it. Go back over the controls and fine tune things a bit. A light touch should do - the idea is to make the whole mix sound a little better without going overboard. Find the sweet spot, and start your mix!
As you go, of course, periodically check back on Master Plan. The loudness of your mix will almost definitely creep up as you add processing to tracks, so back off of Loud and Thick as needed. Keep an eye on those LUFS meters - keep ‘em green! - and listen for any saturation that sounds too heavy handed.
Mixing like this, you just might find that you need less processing on the rest of your mix. Don’t worry - it’s not against the law to skip a couple plugins you might normally use… at least not last I checked. When the mix is done, go back to Master Plan and fine tune those finishing touches. Go ahead and crank that Loud knob a little more. You have our permission. Happy mixing!